1
2
3
4
5
6
7
8
9
10
11
12
13
14
15
16
17
18
19
20
21
22
23
24
25
26
27
28
29
30
31
32
33
34
35
36
37
38
39
40
41
42
43
44
45
46
47
48
49
50
51
52
53
54
55
56
57
58
59
60
61
62
63
64
65
66
67
68
69
70
71
72
73
74
75
76
77
78
79
80
81
82
83
84
85
86
87
88
89
90
91
92
93
94
95
96
97
98
99
100
101
102
103
104
105
106
107
108
109
110
111
112
113
114
115
116
117
118
119
120
121
122
123
124
125
126
127
128
129
130
131
132
133
134
135
136
137
138
139
140
141
142
143
144
145
146
147
148
149
150
151
152
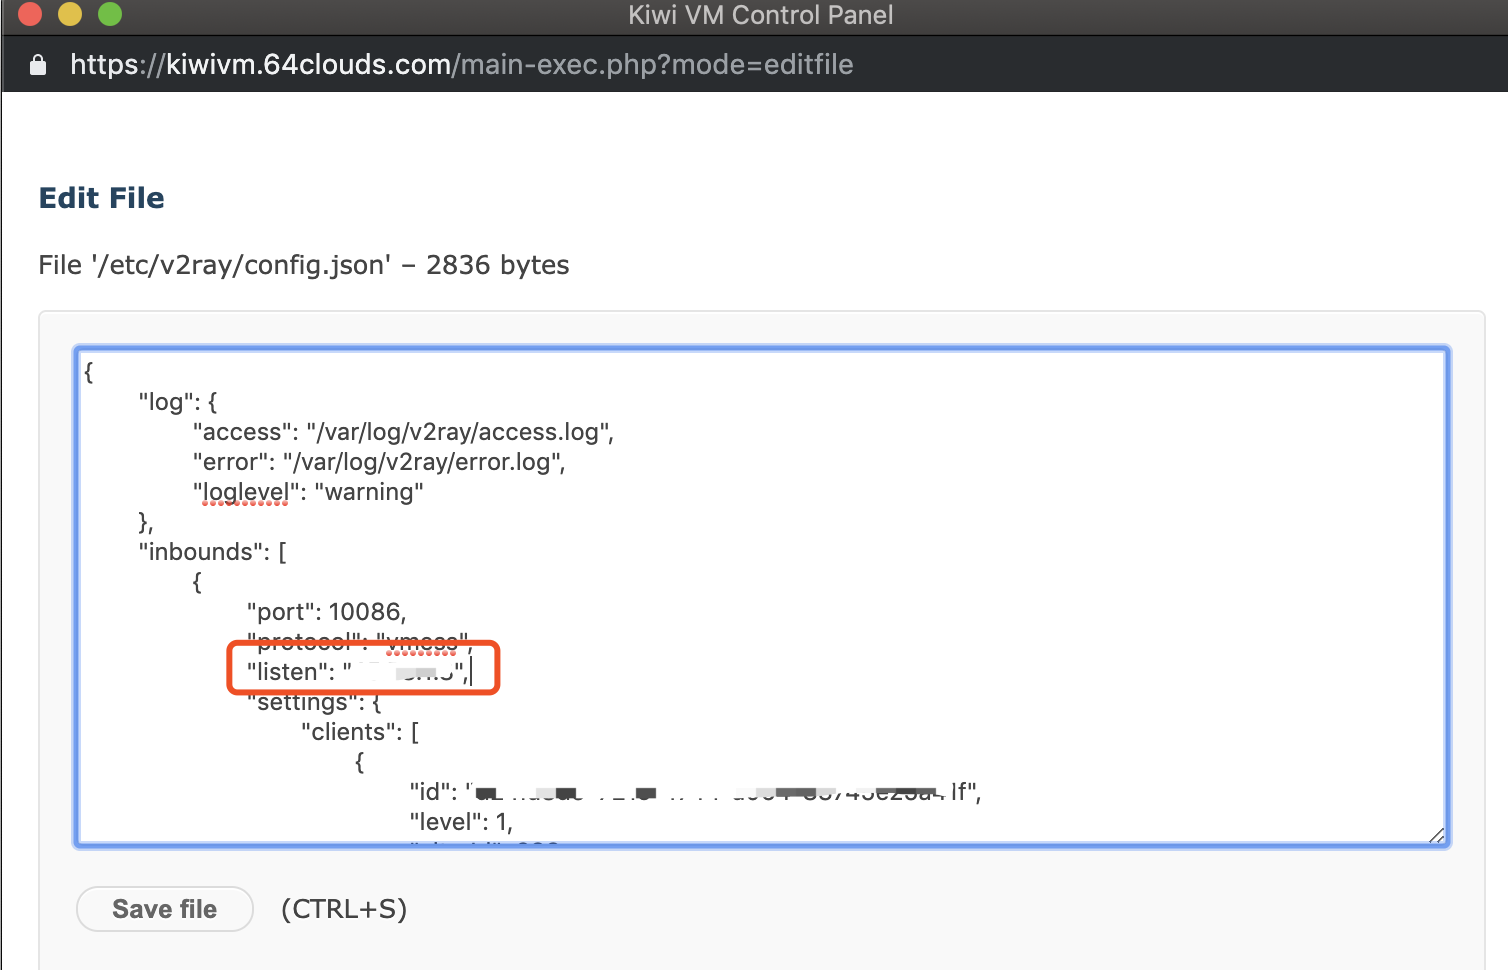
| {
"log": {
"access": "/var/log/v2ray/access.log",
"error": "/var/log/v2ray/error.log",
"loglevel": "warning"
},
"inbounds": [
{
"port": 10086,
"protocol": "vmess",
"listen": "你的IP地址",
"settings": {
"clients": [
{
"id": "xxxxxxxx-xxxx-xxxx-xxxx-xxxxxxxxxxxx",
"level": 1,
"alterId": 233
}
]
},
"streamSettings": {
"network": "ws"
},
"sniffing": {
"enabled": true,
"destOverride": [
"http",
"tls"
]
}
}
//include_ss
//include_socks
//include_mtproto
//include_in_config
//
],
"outbounds": [
{
"protocol": "freedom",
"settings": {}
},
{
"protocol": "blackhole",
"settings": {},
"tag": "blocked"
},
{
"protocol": "freedom",
"settings": {},
"tag": "direct"
},
{
"protocol": "mtproto",
"settings": {},
"tag": "tg-out"
}
//include_out_config
//
],
"dns": {
"server": [
"1.1.1.1",
"1.0.0.1",
"8.8.8.8",
"8.8.4.4",
"localhost"
]
},
"routing": {
"domainStrategy": "IPOnDemand",
"rules": [
{
"type": "field",
"ip": [
"0.0.0.0/8",
"10.0.0.0/8",
"100.64.0.0/10",
"127.0.0.0/8",
"169.254.0.0/16",
"172.16.0.0/12",
"192.0.0.0/24",
"192.0.2.0/24",
"192.168.0.0/16",
"198.18.0.0/15",
"198.51.100.0/24",
"203.0.113.0/24",
"::1/128",
"fc00::/7",
"fe80::/10"
],
"outboundTag": "blocked"
},
{
"type": "field",
"inboundTag": ["tg-in"],
"outboundTag": "tg-out"
}
,
{
"type": "field",
"domain": [
"domain:epochtimes.com",
"domain:epochtimes.com.tw",
"domain:epochtimes.fr",
"domain:epochtimes.de",
"domain:epochtimes.jp",
"domain:epochtimes.ru",
"domain:epochtimes.co.il",
"domain:epochtimes.co.kr",
"domain:epochtimes-romania.com",
"domain:erabaru.net",
"domain:lagranepoca.com",
"domain:theepochtimes.com",
"domain:ntdtv.com",
"domain:ntd.tv",
"domain:ntdtv-dc.com",
"domain:ntdtv.com.tw",
"domain:minghui.org",
"domain:renminbao.com",
"domain:dafahao.com",
"domain:dongtaiwang.com",
"domain:falundafa.org",
"domain:wujieliulan.com",
"domain:ninecommentaries.com",
"domain:shenyun.com"
],
"outboundTag": "blocked"
} ,
{
"type": "field",
"protocol": [
"bittorrent"
],
"outboundTag": "blocked"
}
//include_ban_ad
//include_rules
//
]
},
"transport": {
"kcpSettings": {
"uplinkCapacity": 100,
"downlinkCapacity": 100,
"congestion": true
},
"sockopt": {
"tcpFastOpen": true
}
}
}
|
